Standard Deviation Channel (4x)Standard Deviation Channel (4x)
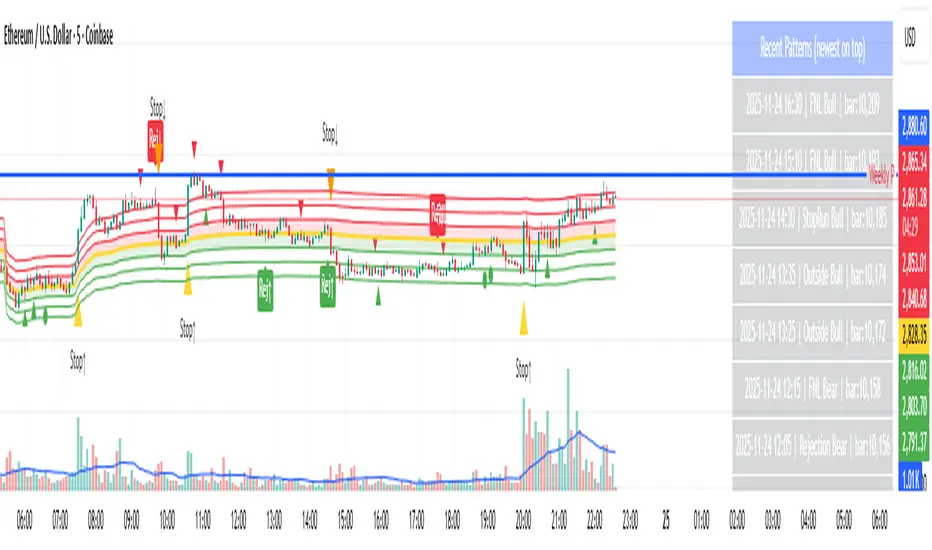
A linear regression channel with up to 4 standard deviation bands on each side, plus built-in moving averages and high/low levels from higher timeframes. Basically everything I need on one indicator without cluttering my chart with 5 different scripts.
What it does
The core is a standard deviation channel based on linear regression. You get the regression line (base) and can enable up to 4 deviation levels above and below (±1σ, ±2σ, ±3σ, ±4σ). Each level can be toggled independently and the multipliers are adjustable if you want something like 1.5 or 2.5 instead of whole numbers. The fills between bands help visualize the zones.
Pearson's R is available if you want to see the correlation strength of the regression.
Moving Averages
6 MAs included, each fully configurable:
- Type: SMA, EMA, WMA, VWMA, RMA, HMA, DEMA, TEMA
- Custom length and source
- Individual colors
High/Low Levels
Shows horizontal lines at:
- Weekly High/Low
- Monthly High/Low
- Yearly High/Low
- Previous Week/Month/Year High/Low
Useful for spotting key levels without switching timeframes. Labels included so you know which line is which.
Alerts
- Deviation band breaks (all 8 levels)
- MA crossovers (price crossing above/below)
- High/Low level breaks
Settings
Everything is off by default except the ±1σ and ±2σ bands. Enable what you need, disable what you don't. Colors are fully customizable.
مؤشر Pine Script®